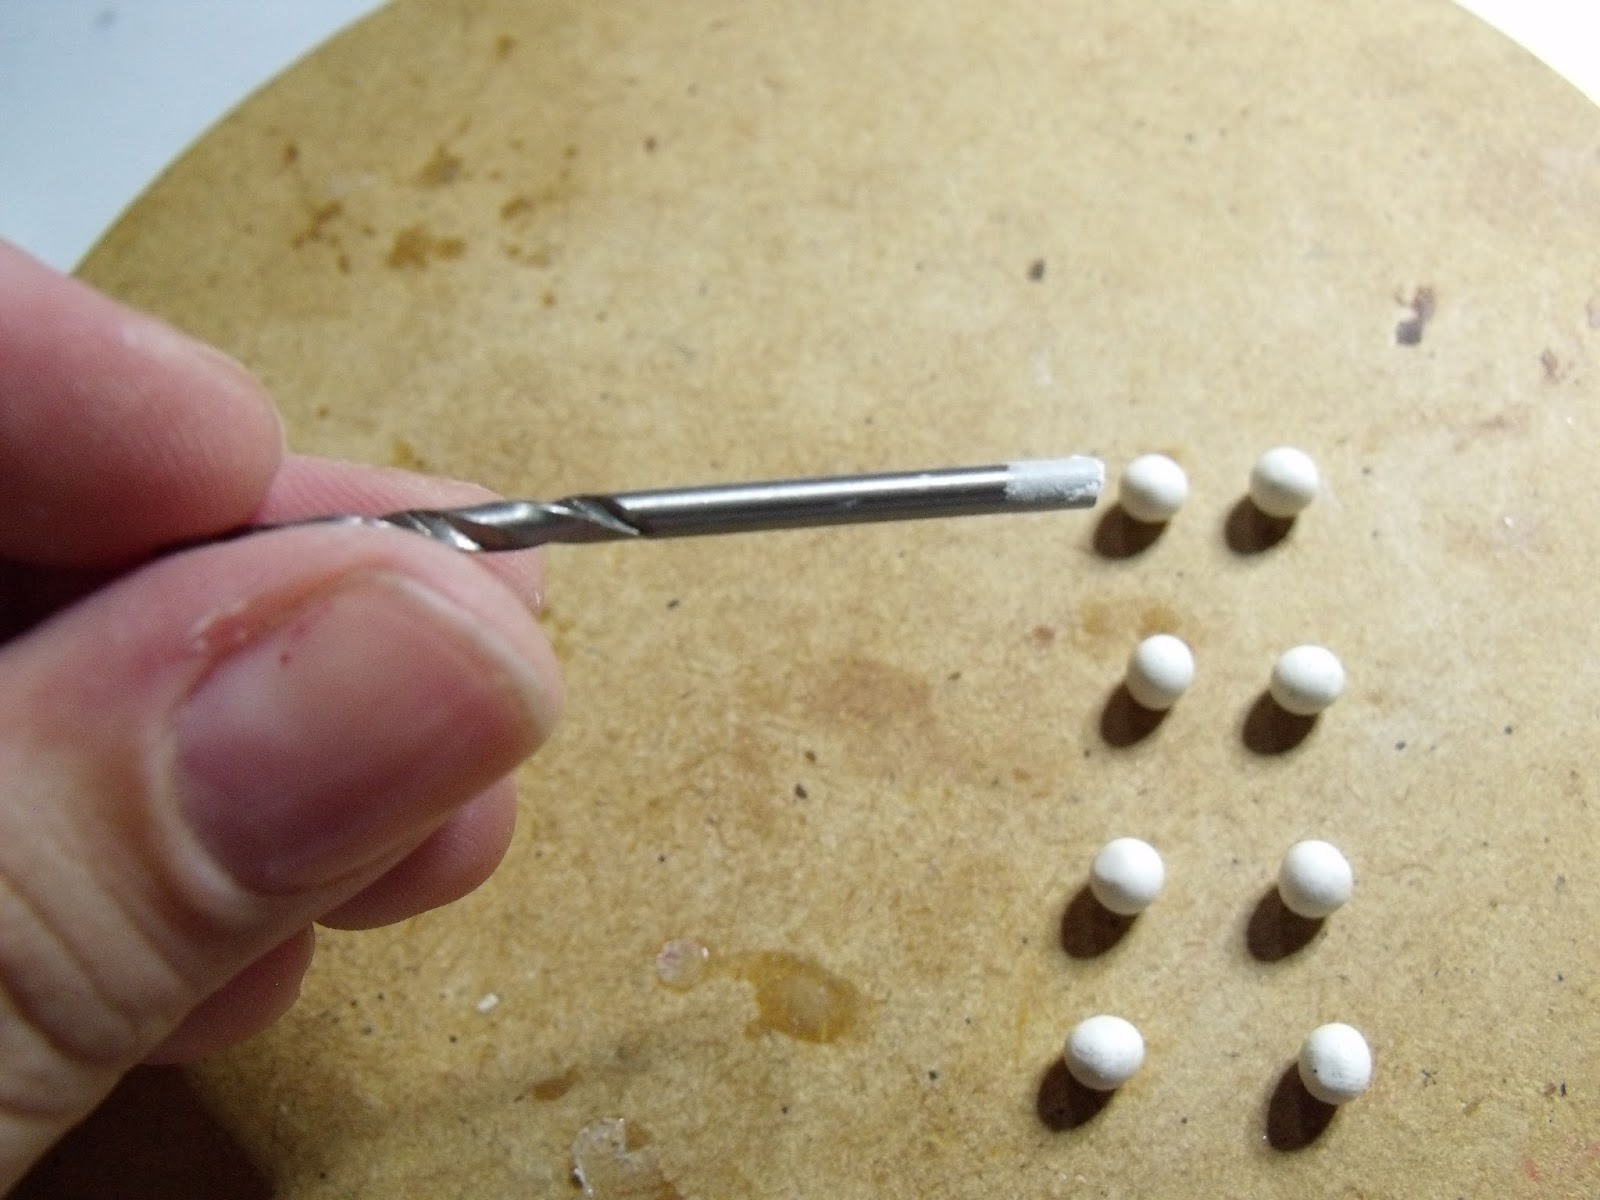
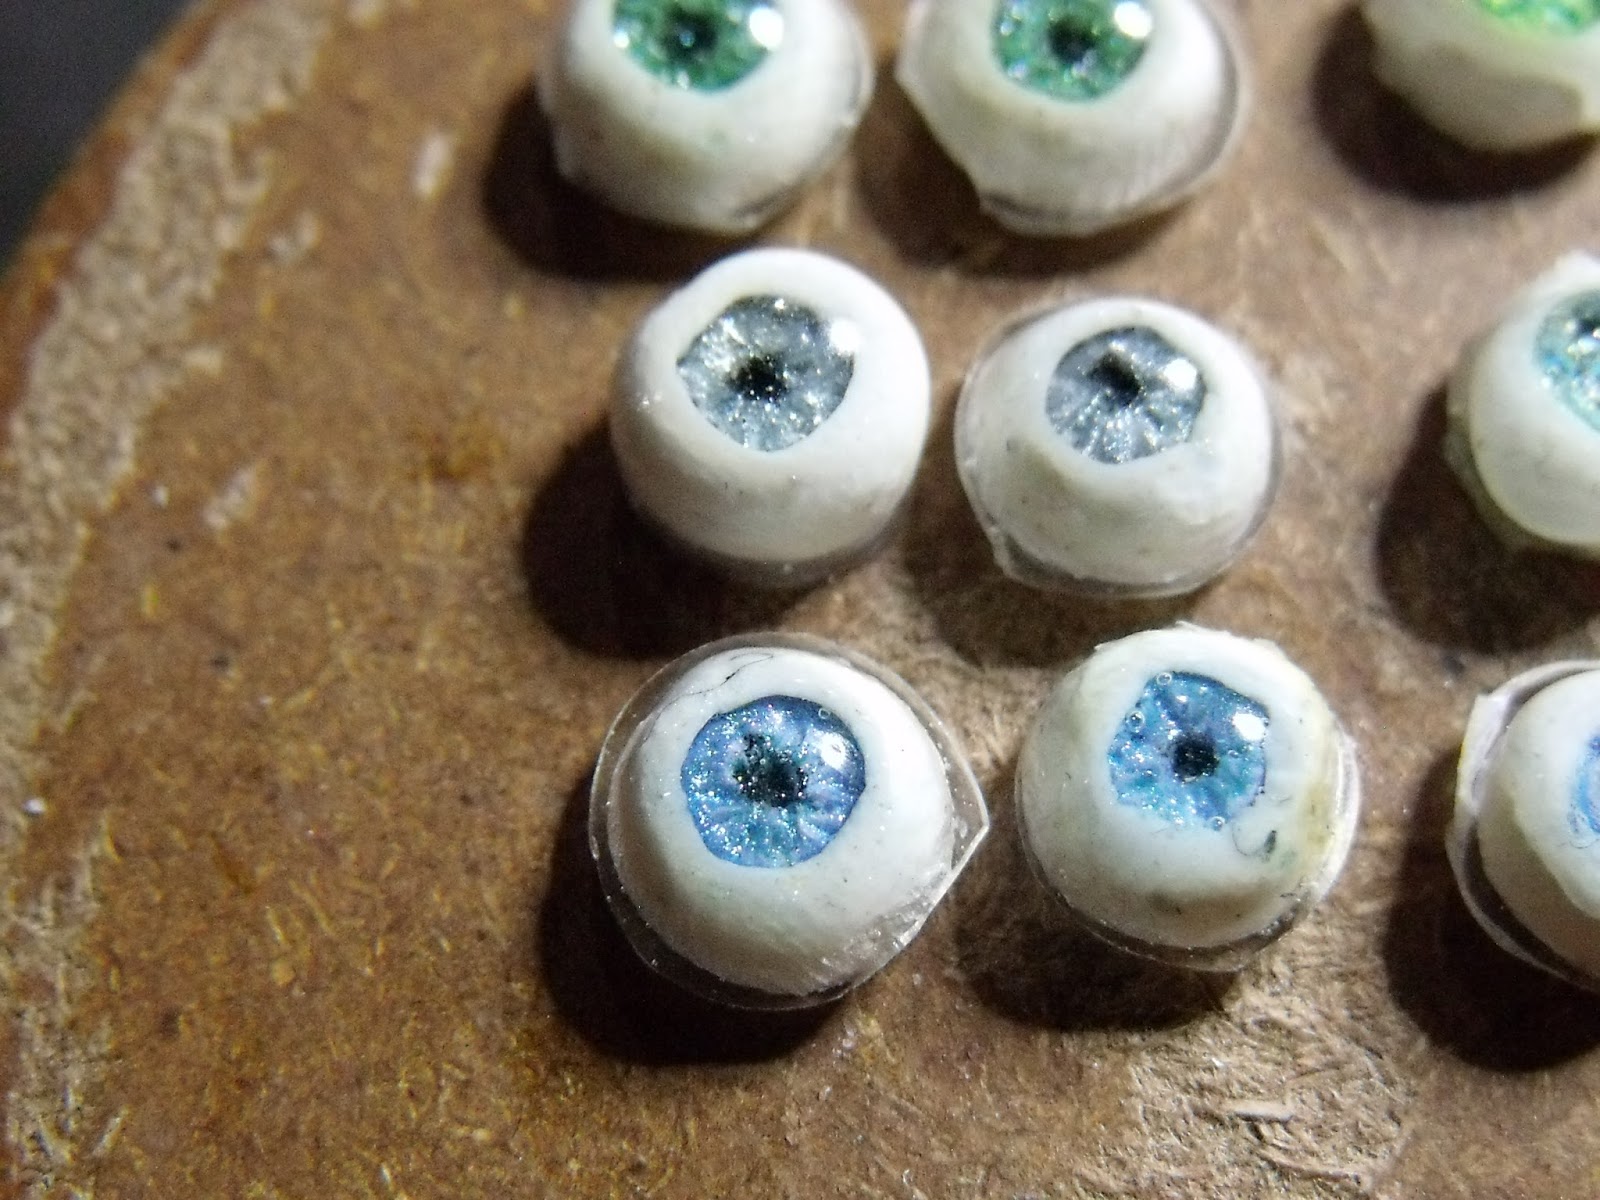
Showing posts with label mica powders. Show all posts

Sunday, 1 October 2017

Tree of Life: A quick and easy cane...

Wow. I only just realized how long it has been since I actually wrote a post. That is my bad, but I'm here now so...

Let's get right to it, shall we? HEre's what I made last night...


And now, here's how I did it...

I stared, as always by mixing my colours and conditioning the clay. In this case I used a pearlescent teal, and translucent as the main colour palette, and added in some bits of dark blue and purple for the rest of the shades.
 This is the teal colour. I ran it through my pasta machine (on the thickest setting) and trimmed the resulting sheet into a uniform shape and rolled it into this fat log.

Now for the fun part. Making the tree and it's branches...
I cut out that tiny wedge in the middle.
 Here's what is left when the wedge is removed.

If you are wondering what that white stuff is, it is corn starch. My blade is a little blunt, and the new ones have not yet arrived in the mail. Here's my work around:
The problem with a blade that isn't razor sharp in caning is that it can often have quite a bit of drag, which is definitely NOT what you want. 
Provided that the blade isn't too blunt, if you cover it with a tiny dusting of cornstarch (or talc/ baby powder), the drag is reduced considerably. In fact, in this instance, I would go as far as to say that it has been eliminated entirely.
 The tree and its branches is made from this mix here. As you might be able to tell from the photo, the colours aren't, and don't have to be, fully blended. In fact, I really like the marbled effect that is created while mixing the colours. 
Right, so, again, I rolled the clay through my pasta machine on the thickest setting and lay the sheet out. 
With a little guess work, I estimated how much of the clay I would need for my tree, and put the rest aside.
Now this part was really fun to do. I grabbed my silver leaf, in this case I was using the one from Mont Marte (I don't think that the brand matters all that much, but my experience with silver/ gold leaf is rather limited...).

 I covered the clay with the silver leaf, and again ran it through the pasta machine (on the same setting) just to help the clay and the silver leaf to form a good bond.
 Then I simply filled that wedged gap from before with the now silver covered sheet. 

I continued making cuts in the teal cane (this time without cutting any of the teal away) and inserting sheets of the darker colour. I tried to make sure that the silver side was always facing the top of the tree (although,again, I don't think that it matters all that much).
 This is what I ended up with once I had all my branches in place. I also widened the base of the tree's trunk by cutting away small sections and replacing the teal with the darker mix.

The last thing to do is wrap the entire cane with a final sheet of clay. 
What I did was use what was left of the branches' clay and mixed in the silver leaf so that it looked like glitter in the clay (without having any of the issues that glitter has where caning is concerned) and added a tough of royal purple to make it darker still.
Back to the pasta machine and then just roll the cane up. Easy-peasy!
When that is all said and done (an the ends have been trimmed), this is what I got.

I don't know about you, but I quite like it!
 Here I was playing around with my first slice, adding tome textures to the back ground etc., just to see what I like. 


(The coin is an Australian 50c, and yes, it is the biggest coin ever made that is still in use, in my opinion anyway. A few of those puppies in your purse and not only does it weight a tonne, but that puppy might not even close!)


After playing around with it for a while, I came to realize that I really just don't like that low branch on the right. It was just weird. 
No need to panic, or even re-do the entire cane.Here's how I fixed it:
I simply cut out the offending bits of clay.

 Took one of the end buts that I cut off earlier.
 Cut off a small slice and 'harvested' some of the teal. This is a good idea if you no longer have any of the original colour left, or if you just wan to make entirely sure that the colours will match exactly, and that the fix will not be visible after the fact, especially after baking.
 
Pop that  bit in the hole and do a but of smoothing and blending to hide the fact that it was once a hole...
 Voila! No more branch, and Anna is once again happy!
Its all good and well to have these awesome cane slices, but before baking, I needed to decide what they will become. In this case I opted for either a pendant or a key-charm. Either way, we will need some way of attaching it to wither a key-ring, or a chain, so time to dig into my beading supplies and find some of these loopy things (eye-hooks they're called, if I am not mistaken).
 (This step isn't essential, but I like to do it, just to be safe.)
I add a little kink in the straight part of the wire, the part that will be embedded in the clay. In my experience, a straight wire/ pin is likely to pull out at some point, but a curved or bent wire is a lot more likely to stay put.
 So I don't like to have the design on both sides of these things, for no particular reason other than I don't like it...
What I do instead is take some of the scrap bits from the caning process (there is always a whole lot more than I care to have anyway) and mix these together, but only barely; so that I get that same lovely marbled effect as on the tree branches. then I simply make a disc the same size as my cane slice and butt them together. before doing that, I add the loopy thing (making sure that it is positioned correctly).
 Finally I make my mark on the back, along with the date, because, in my opinion, if you are proud of something, you should put your name on it.
 The last thing I did was add some different coloured pearl ex powers, and then I baked the whole lot at 115°C for about 45 minutes.

And there you have it! Quick and easy!!!

Well, that is all I have for you for tonight, but be sure to check back in a few days, as I have been rather busy, and I have two other projects to share. 

Until next time,
ACL

PS. For those of you who would like to support me and my at, please think about heading over to my Patreon page and becoming a patron: https://www.patreon.com/annacl . I would be eternally grateful.

PSS I have been using a different, instant, communications platform, and if you are interested in contacting me with questions and/ or comments, find me instantly (messages are sent directly to my phone) here:
https://reaches.me:8443/urlchat.html?guestid=6aa28459a91aad02692a9334f633919a
 
Its a fairly unique platform with a huge range of uses and features, but I like the chat. Alternatively, download it form the PlayStore. Search for chatWORLD or follow this link: https://play.google.com/store/apps/details?id=com.world.chatworld&hl=en



Wednesday, 23 November 2016

New Eyes...

I know, I know! I'm late with writing this, but I promise I have a good reason. Lately life has been a little complicated, and I have found it difficult to find enough time and motivation to sit down and write this (don't get me wrong, once I start, I love every minute of the experience), and so I've been putting it off and putting it off. That does not mean that I have been idyll, quite the opposite in fact.  I have been having great fun playing with new techniques and venturing into uncharted territories where my art is concerned.
But enough of my whining, let's get right back into it!

I recently tried out a lot of different new ways of making eyes for my dolls, and after spending a huge amount of time researching what other artists do and trying a whole slew of different techniques etc, I have finally found something that I LOVE, and best of all it is so simple!


SO what I'll do is I'll show you how I made these, and then, at the end, I'll tell you some of the other ways that I tried, and if that works for you, then more power to you, as for me, until I find something better, this is probably how I'll be doing my 'eyes' from now on.

Okay, I know that I have another post on eyes, and don't get me wrong, I still really love the look of them, and I especially love the detail in the irises (here is the link to the previous post http://whatsannadoingtoday.blogspot.com.au/2016/05/as-promised.html ), but I had a really hard time keeping them perfectly round and a lot of the finer details tend to get lost when working on the scale that I do, so...

Back to the 'new eyes'.

 I started with these... They are used in paper crafts (I think), and for some reason I actually had to buy mine online because, none of my local craft/cheap shops seemed to have them in the right size. 

As you can see in the photo, they are really small. The size in the bottom left of the package is the size of the hole (which is really the only part I care about), as this will be the size of the iris.
 The reason I love these, is because there is very little that I can do with just some clay and a few paint brushes that is going to distort the perfectly circular hole, keeping our iris looking perfectly round. 
So, I start off by painting the rim of these little eyelets, and I tend to use a pretty dark colour. This is not going to be the colour of the whole eye, and in general the outer ring of the iris is naturally darker.
Once the paint is dry, I fill the holes with clay. I haven't tested this, but I don't think that the colour of the clay really matters as most of it will be coloured/covered with paints etc. I like to use different shades of clay however because it helps me keep track of the matching pairs. (Keep in mind that the clay tends to expand a little bit during the baking process, so what I do is just press the top of it down a little with my finger tips so that the clay is sitting just a little inside the metal ring.) 
Right, once the clay is in place, I go ahead and make a little hole for the pupil. I try and get this as close to the center of the iris as I can, otherwise the whole thing just looks wrong.
At this stage the clay is still not baked, and I just go ahead and paint the raw clay.
Here is where you can do what ever your little heart desires. You can make these as simple or as detailed as you like. 
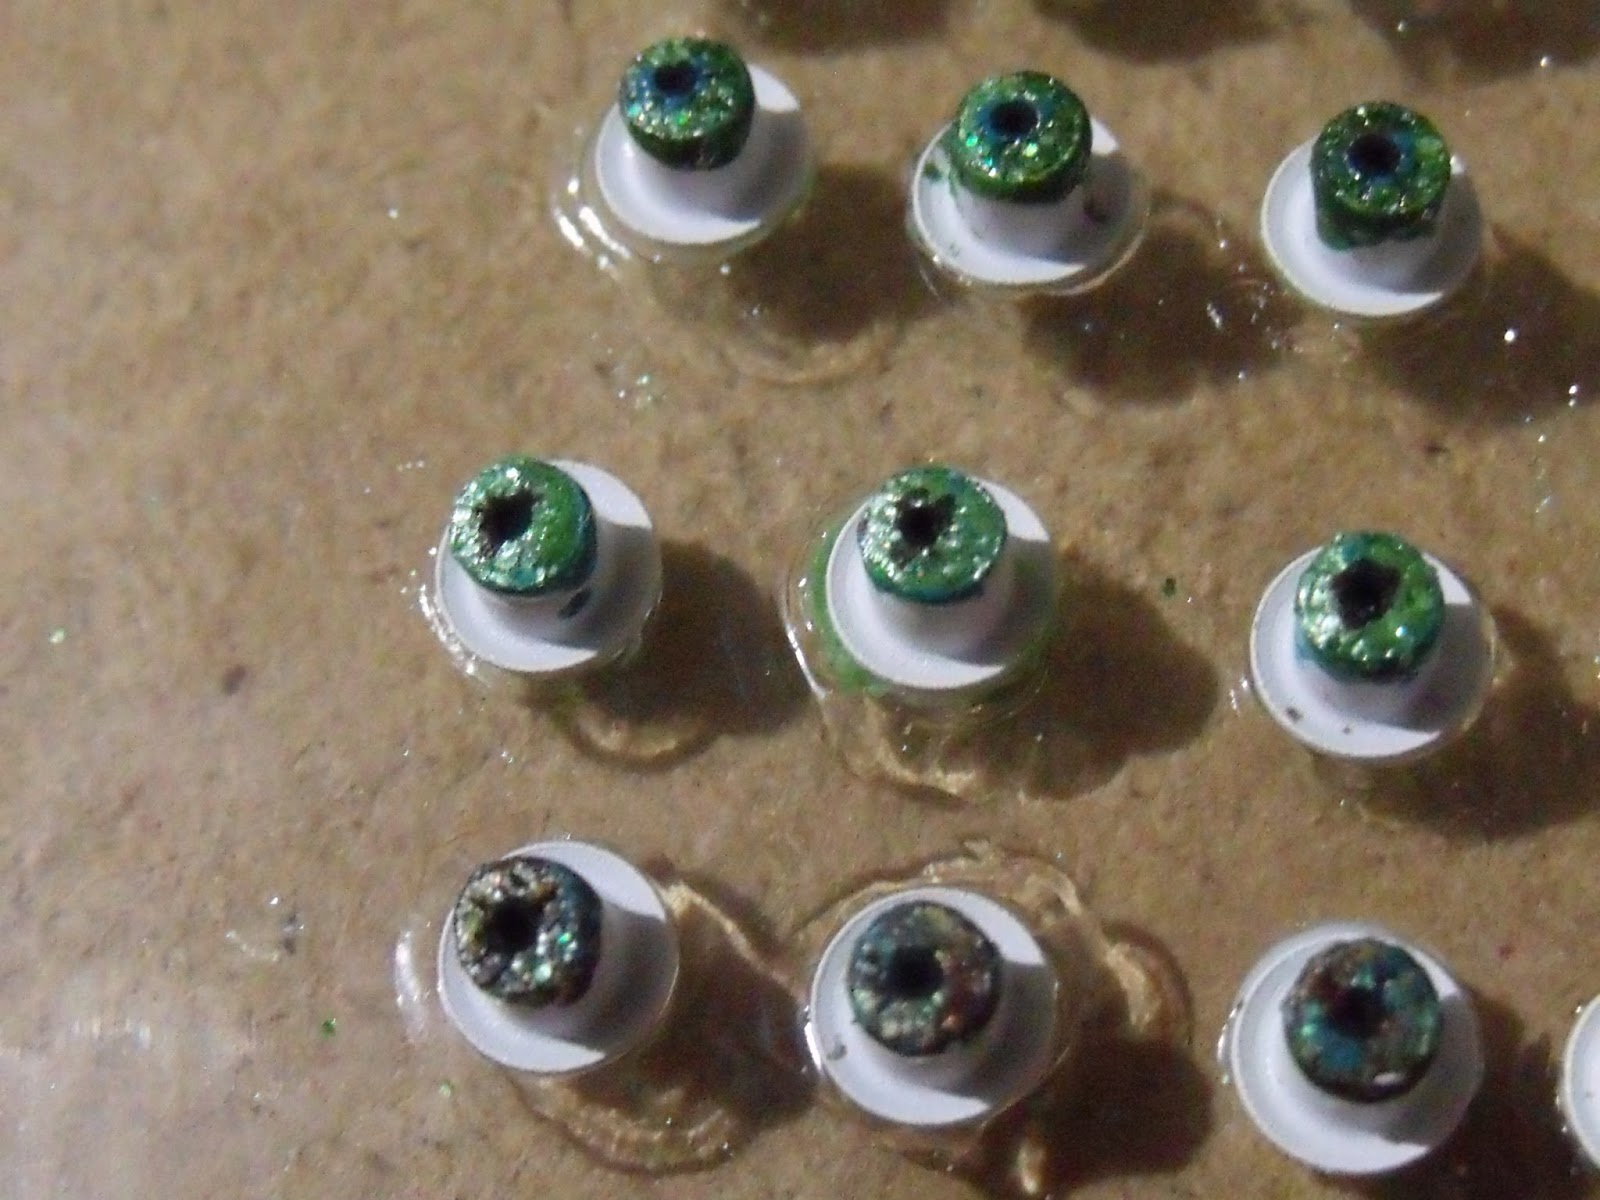
I, as you might know, tend to go a little over-board, so for these I used a variety of paint, glitter paints (the ones with REALLY fine glitter that my hubby hates), as well as mica powders. Also DON'T forget to use some black paint for the pupils. The holes might look dark enough, now, but once the resin is on it tends to magnify things a little bit, and it might not be dark enough Then, once I was happy with the look I went ahead an baked them.

The reason I bake them at this stage is to make sure that the clay doesn't expand later and make a mess of all of that hard work, especially after the resin goes on..  

Once baked and cooled, I put a single drop of resin on top of reach iris. The hardest part of this is to make sure that there are no air bubbles trapped on the resin, especially in the little pupil hole. A toothpick and some patience takes care of that.
When the resin is cured its time to finish the rest of the eye. 
I take a small ball of white clay (about the size I want the eyes to be), and press that over the top of the eyelet.
I end up with something that looks like this.
A bit of gentle rubbing soon reveals that lovely iris. The resin protects the paints etc, and makes the clay slide off the iris really easily.

Once I reach the point where my fingers are just not cutting it, I take a slightly damp cotton swab and make sure that I get as much of the clay as possible off of that iris. At this point I am not too concerned with keeping the sclera (the white part) perfectly round.
 As soon as I have the iris completely exposed, that is when I start with the cleanup and making sure that the eye is the right shape etc.
 And there you have it: a beautiful eye. These go back into the oven to bake the whites and, once they are cooled, I move on to the final step in preparing these eyes for their future faces.

After making sure that the eyes are completely cooled. I get ready to put on a final layer of resin. This helps to seal and protect all of that work, but it also gives the eyes a lovely glossy look.


I have found, and used, a different kind of resin for this project. I hated having to try and mix that small an amount of the two part resin (I was literally working with as little as a quater of a ml (0.25ml) of each part of the resin), and still there seemed to be so much of it wasted afterwards. 
In this project I used something called Gel du Soleil, a UV curing epoxy resin that doesn't need any mixing and can be used straight out of the little bottle, and I must say that it has been a joy to work with (although it is a little expensive, but I found it to be well worth the cost). 

The only problem I found is that it is really stinky, but good ventilation quickly takes care of that. The best part is that all that it takes to cure this is about 15 minutes in the afternoon sun. It makes life so much easier and faster, and making these eyes only took me a few hours this afternoon (including baking and curing) rather than the day or two that the others took - mostly due to the lengthy curing times of the two part resins.

And that is all there is to it.

Aren't they pretty?
This is a face I sculpted using the eyelet eyes:


(I couldn't decide which photo was better, so I'll put both)

Sadly however she died in an uncontrolled temper tantrum that I may or may not have had. 

On the plus side, the eyes worked really well and I am quite pleased with how they look, once sculpted into a face.

And now, as promised, here are a few other ways I tried making eyes with a little less success:


(This is some of the cane eyes from before, slices and pre-baked)


All in all I must say that even though it is more than a little frustrating to have some experiments fail, I defiantly had a LOT of fun trying out new things and I am desperately in love with the new eyes, so right now I am off to go and make some new faces!

Until next time,
ACL

P.S. Just a quick look at all the different supplies I used to paint and colour my eyes:

Most of the paints that I use are the cheaper brands from the dollar store etc, and I find that they work perfectly fine.
My new favourite type of paint.

The one on the bottom left is cosmetic glitter, the rest are mica powders.

I really love tooth picks, I find them to be super useful, especially in doing some of the fine detail work.

PPS   I have been using a new communications platform, and if you are interested in contacting me with questions and/ or comments, find me instantly (messages are sent to my phone) here:
https://reaches.me:8443/urlchat.html?guestid=6aa28459a91aad02692a9334f633919a
 
Its a fairly unique platform with a huge range of uses, but I like the chat. Alternatively, download it form the PlayStore. Search for chatWORLD or follow this link: https://play.google.com/store/apps/details?id=com.world.chatworld&hl=en