Helllo out there!
Well this time round I have been a little slow in getting this project onto my blog, but, if you follow me on social media, you might have seen it.
I'm not sure if I have mentioned it before or not, but I am, originally, form South Africa, although I now call Australia home.
For this project I have reached for some of the South African left in me and created what I would call the Perfect Braai. (Braai is the Afrikaans word for BBQ)


In case you didn't notice, This was a rather big project, so it follows that this is going to be a rather long post, so bare with me.
Um, to be honest, I'm not even too sure where to start... Well lets start with the most important part of it all, the actual braai.
Here's how I did it:

I started out with a lovely mix of silver and black to get that semi-sparkly look.
(Now, I hate it when other tutorials do this, tell me to use an object that they have, but I tried a few other things and none worked. )
I took this glass dish and used it as a template. I made two of them.
After baking them I added more clay onto the top of one of them and get that domed shape, the other I left flat.

In the one with the dome, I cut a hole in the added clay from the dome, and baked and sanded both parts.

The dust from this sanding I kept and set aside to use later.
(I hope that you find a bowl or something similar if you are keen to try it.)

For the grill, I took some rather thick wire, well thicker that what I usually use. I guess that if you don't want to measure the approximate size on the actual sculpt, you could trace it onto paper and use that instead.
I find that I either never get the tracing right or I end up keeping that piece of paper for the rest of eternity...
Once I had a rough idea of how many horizontal bits I wanted etc, I took another bit of wire and bent it into a circle.

I would advise you to make sure that this circle fits into the bottom half of your BBQ. And yes, I am talking (writing?) from experience...
I used epoxy glue to secure the horizontal wires to the circle and trimmed them once the glue was set.
I found it really hard to work super neat, and so you can (unfortunately) see the glue in the end...
I also took the little thing that holds the wick in place in a tealight candle and, after making some holes in it, glued it to the lid of my BBQ, over the hole.

For the coals, I sued some of the same black clay from before (the slightly sparkly one) and cut and shaped some bits to tool like coal.


Adding a bit if texture with my toothbrush and needle tools...

(See my little helper in the back there?)
I added some soft pastels in black, gray and red to give it a but of dimension...

When the were baked and cooled, I put them in the bo0ttom of my braai, fixing them with a few drops of TLS (Translucent Liquid Sculpey).

I also brushed a bit of the TLS on top if the 'coals' and dusted them with the residue from the sanding that I saved from before.

Baked and the excess removed (gently). This part is now done.
(I forgot to photograph how I did the legs, but all that it was was pre-baked rods of clay, glued onto the bottom of the bowl...)
Shall we start on the meat?

The most important part of any braai is the Boerewors. Its sort of a spiced sausage that is uniquely South African. It is also delicious.
I started with these three colours, pink, chocolate brown and tan.

I mixed the tan and brown together, leaving the pink for the minute.

I put the two side by side, and started chopping them.

I did this until the brown was flecked with bits of pink. Try not to handle the clay more than is necessary at this point.
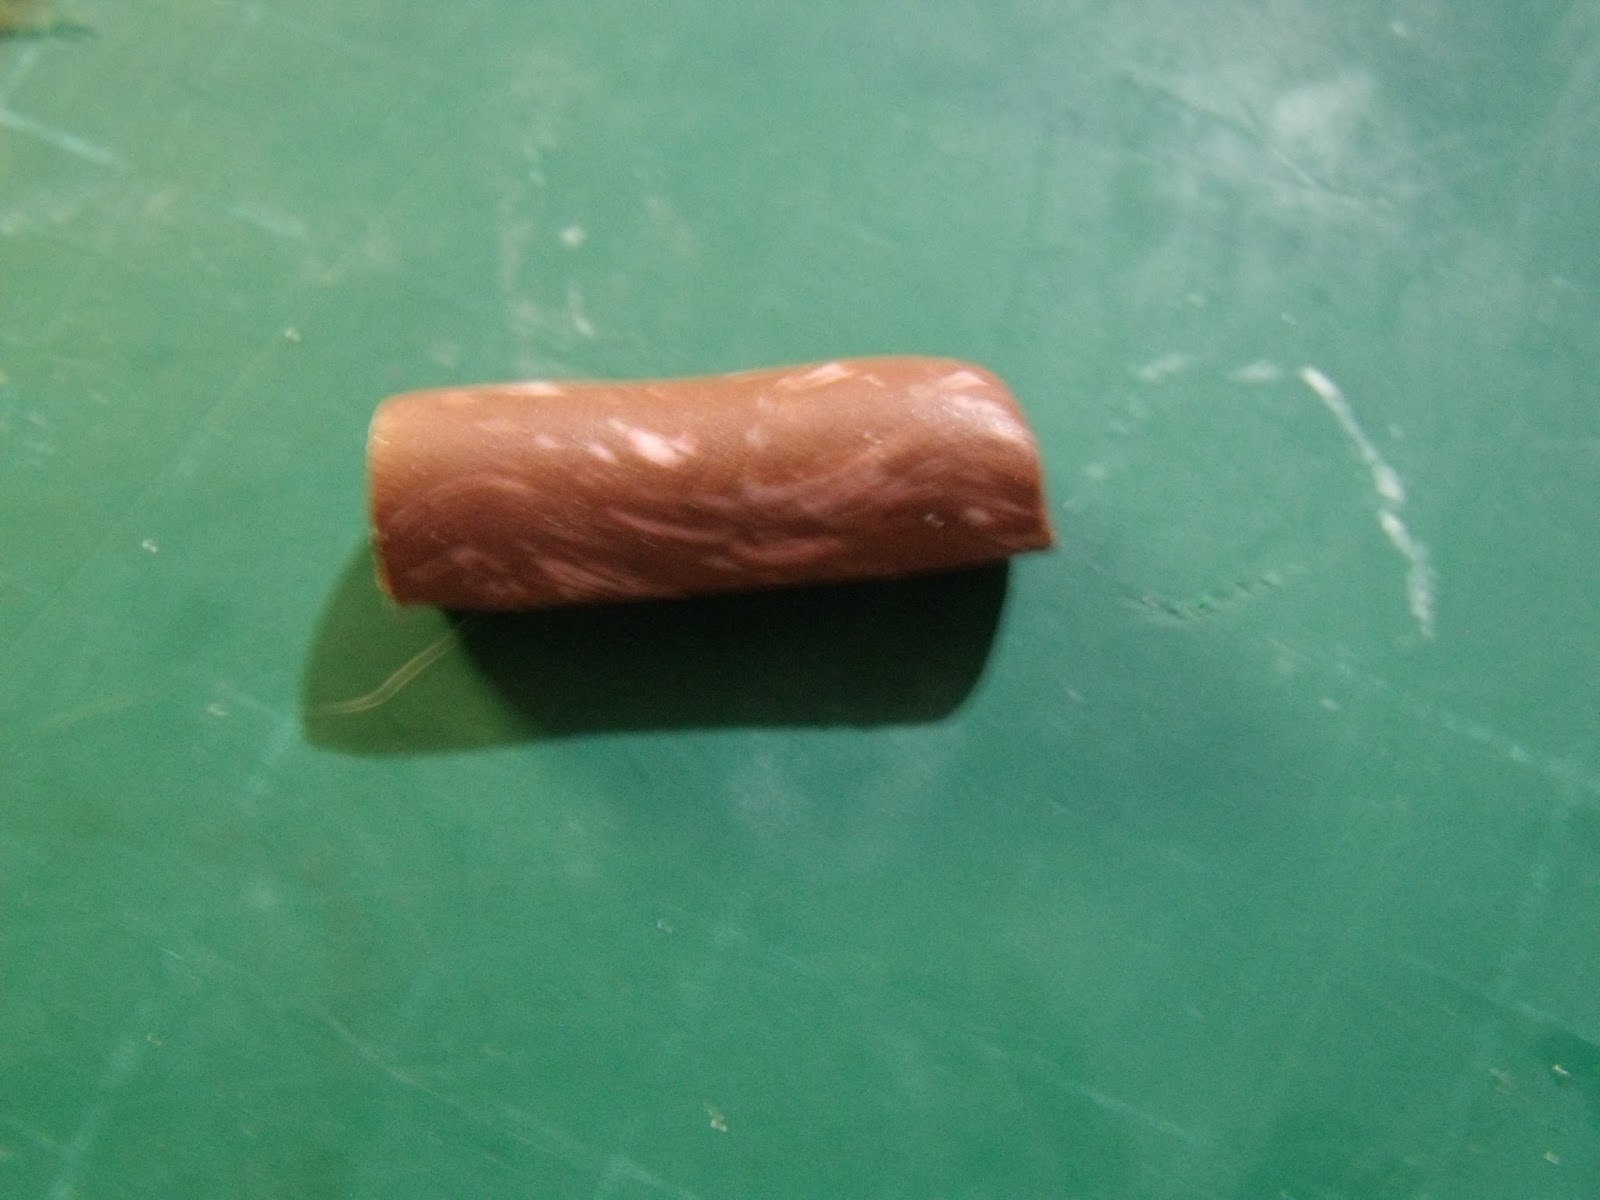
I took my minced clay and rolled it into a snake. I shaped it and coiled it in the traditional way.

The texturing was once again done by using my trusty toothbrush and some dotting tools.
I also added some grill marks using the back of my blade.
I also added some grill marks using the back of my blade.
I added some depth to the grill marks by colouring them with a bit of dark brown soft pastel. The whole thing was then sealed with a matte glaze...
Some T-Bone steaks:

I started with three colours. A shade of off white, brown and tan. The tan I mixed with equal parts of translucent.

I took the brown clay and shaped it. Once I was content with the general shape, I added a slight indentation with my dotting tool in the shape of the bone.

Before adding the bone, however, I added the fat. For this I used the tan/translucent mix and, rolling out and flattening a snake I stuck it around one side of my steak.

I used tiny bits of the off white clay to make the bone.

I again used my toothbrush for base texture.

Fixing the detail around the bone. For this I used mt needle tool.

I also added more texture using the needle tool. I did this by making lines, all in the same direction. I was hoping to simulate the grain of the meat.

Again adding some grill marks. Remember to remove them from the bone.

More soft pastel for the charred grill marks.
I made five steaks and I would suggest making them one at a time. This way they will look similar, but not exactly the same. In this case, variation is a good thing.
Some Braaibroodjies (toasted sandwiches, toasted on the braai (BBQ)):

I started with a dough coloured sheet of clay and cut the rough shape of a slice of bread.

Some reshaping.

Some texturing (jip, you guessed it, using the toothbrush).

I took a bit of mustard yellow clay and cut some cheese slices...

Add in tome tomato. I realize that the texturing on the tomato is entirely unnecessary, but you know me, I am a sucker for punishment...
(If you are interested in seeing how I made the tomato cane have a look at my previous post here: http://whatsannadoingtoday.blogspot.com.au/2016/07/hungry-well-this-wont-help1.html )

Put the 'lids' on. I again added the grill marks. I also cut them in half. If you want to do this, remember to add some texture to the inside...

I rolled out some really thin snakes and added them to the sides, all around so that it kind of looks like the cheese has melted and is oozing out a little...

Once again I used soft pastels to enhance the toasties.
Right, on to some beetroot salad. Well that's what we call it in my house. Basically it's sliced beetroot in a sauce made from vinegar, water, and a few other goodies...


The 'sauce' turned out perfectly, its almost transparent, but it isn't, exactly as I wanted it to be.
I actually feel like this is a good stopping point for today. I promise that I will show you how I did the rest of it tomorrow, but for right now, I think I'll leave it at that.
Until next time (tomorrow),
ACL
No comments:
Post a Comment